
Build a Calm, Resilient Canvas Before Your Peel
A chemical peel works best on skin that is calm, strong, and well-hydrated. When your barrier is healthy, the peel can focus on smoothing texture and brightening tone instead of fighting irritation. That means better results and a smoother recovery.
Prepping your skin 2 to 4 weeks ahead makes a big difference, especially with our high UV exposure in Los Angeles and Ventura County. This “skin preconditioning” phase is all about gentle damaged skin barrier repair at home plus smart timing of in-office treatments like HydraFacial, LED, and skin boosters. When we build a resilient base first, we can help lower the chance of irritation and post-inflammatory hyperpigmentation, also called PIH.
At our med spa in Agoura Hills, we see every skin type and every lifestyle, from outdoor workouts to long freeway drives in the sun. That is why we pay close attention to barrier health and peel planning, so your treatment fits your real life, not the other way around.
How a Damaged Barrier Sabotages Your Chemical Peel
Your skin barrier is the outer layer of your skin. You can think of it like a brick wall: skin cells are the bricks, and lipids like ceramides are the mortar. This layer helps keep water in, keeps irritants and pollution out, and plays a role in how evenly your skin makes pigment.
Signs that your barrier may be struggling include:
- Stinging or burning when you apply products
- Redness or blotchiness that lingers
- Flaking or rough patches
- Breakouts that feel angry or inflamed
When you put a chemical peel on top of a fragile barrier, the skin can overreact. Instead of a controlled, even peel, you may feel:
- Strong burning or itching during the peel
- Extra redness and swelling after
- Longer downtime and more peeling than expected
- Higher risk of dark marks forming, especially if you have melanin-rich skin
This risk is even higher for skin of color and for anyone who is in the sun a lot, which is common with LA life. UV exposure, heat, and sweating can all push the skin toward more inflammation and pigment changes.
Habits that often weaken the barrier before a peel include:
- Using face scrubs or exfoliating brushes too often
- Layering several acid products at once
- Applying strong acne spot treatments on large areas
- Skipping moisturizer because the skin feels oily
- Forgetting daily sunscreen or reapplying only once
Repairing that damage before your peel helps your skin handle the treatment in a calmer, more controlled way.
Four-Week Countdown At-Home Barrier Repair Timeline
The best peel prep is simple and steady, not aggressive. Here’s a general guide, which we always adjust for your specific skin.
3 to 4 weeks out, focus on a gentle, barrier-friendly routine:
- Use a soft, non-foaming or low-foam cleanser
- Add hydrating ingredients like glycerin or hyaluronic acid
- Choose a ceramide-rich moisturizer morning and night
- Wear a broad-spectrum mineral SPF every day
- Pause scrubs, retinoids, and strong acids unless we advise otherwise
This is also a good time to stop at-home peel pads or masks. We want the barrier to feel soothed, not challenged.
2 to 3 weeks out, we can add more focused damaged skin barrier repair ingredients, as long as your skin is calm:
- Niacinamide for barrier support and a more even look
- Centella asiatica for gentle soothing
- Peptides for extra support and bounce
Try not to introduce a lot of new active products at once. If a new serum causes stinging, redness, or breakouts, it may not be right for your pre-peel phase.
1 week out, the goal is to lock in peace and comfort:
- Use fragrance-free, simple formulas
- Consider an occlusive balm at night on drier areas
- Keep retinoids and exfoliating acids on pause if they are not already
- Skip at-home devices like microderm tools or aggressive brushes
- Avoid facial waxing or threading in the peel area
Sun care needs to be extra consistent this week: sunscreen, hats, and shade whenever you can.
Smart Scheduling of HydraFacial, LED, and Skin Boosters
In-office treatments can be powerful prep tools when we time them right.
HydraFacial is usually best about 7 to 10 days before your chemical peel. This gives us space to:
- Gently clear out pores
- Remove light surface buildup
- Infuse hydration and supportive serums
That way, the peel goes onto fresher, more even skin without tipping your barrier into irritation.
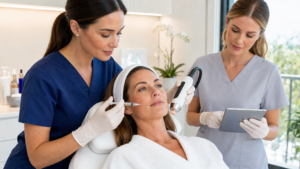
LED light therapy can be woven in 2 to 3 weeks before your peel. We may recommend 1 to 3 quick sessions with calming wavelengths to:
- Support circulation and healing
- Reduce visible redness over time
- Help keep skin in a more balanced, less reactive state
For clients who tend to get PIH, this can be helpful as part of a bigger pigment-safe plan.
Injectable skin boosters or biostimulators are usually planned 2 to 4 weeks before the peel. This gives the product time to start its work on hydration or collagen while we still keep the surface barrier calm and steady. We want your skin feeling bouncy and supported before we add any peeling solution.
Customizing Your Pre-Peel Plan for Your Skin and Season
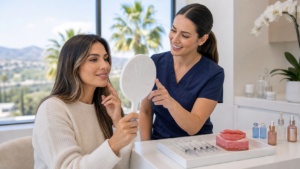
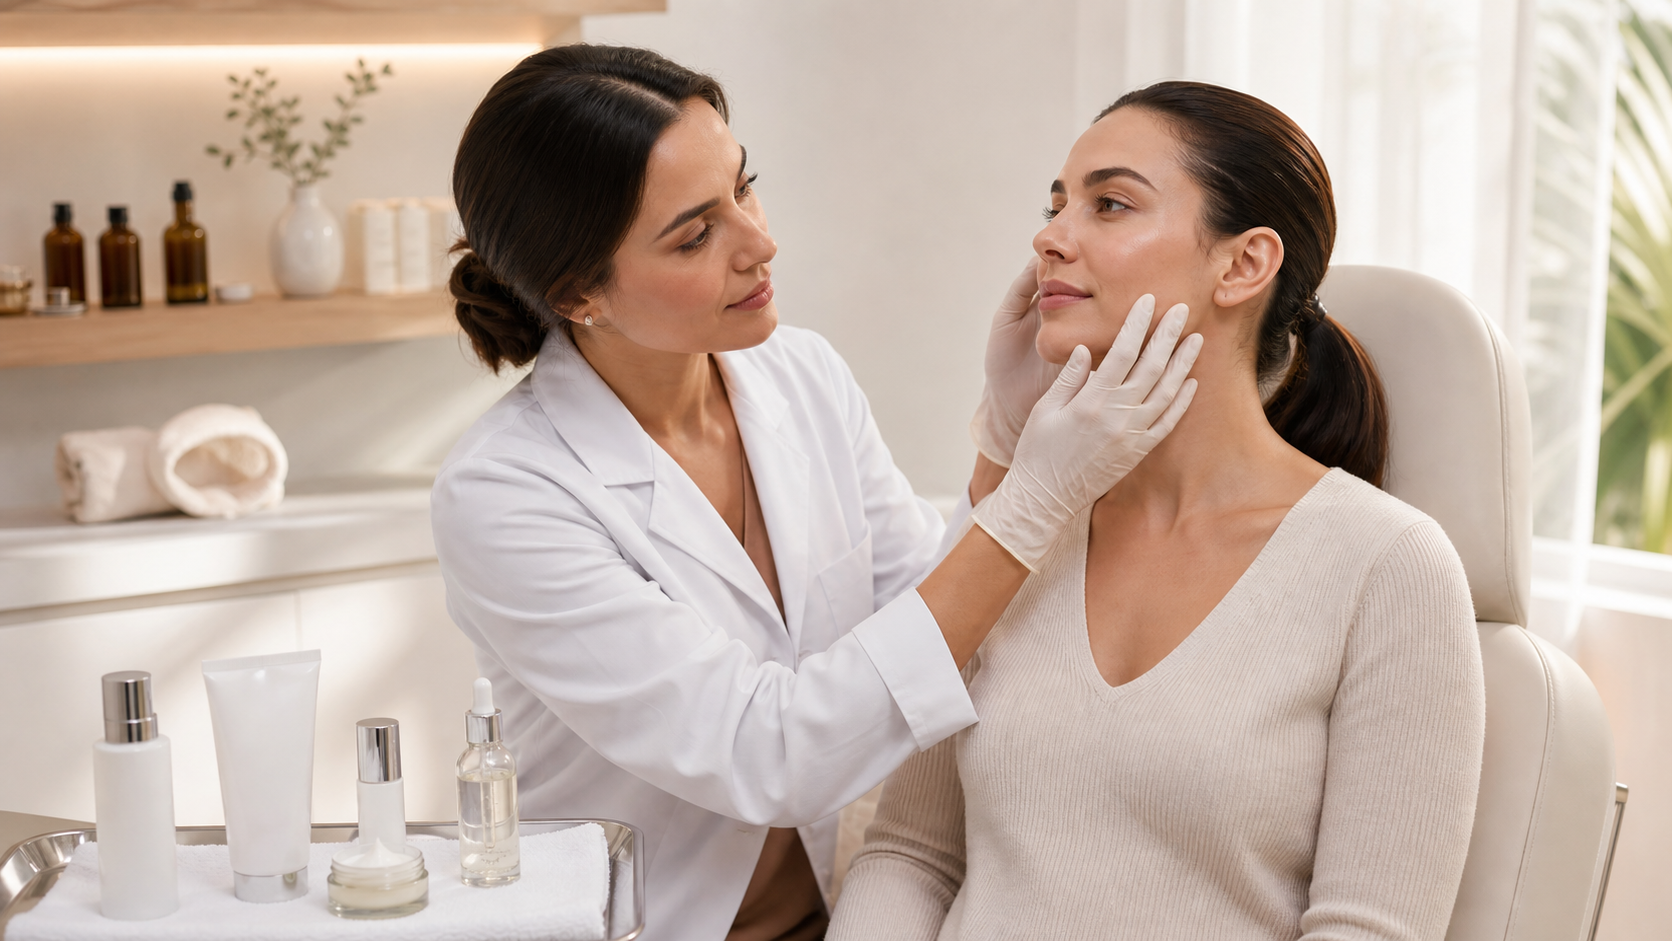
Not all skin needs the same prep. We look at your skin type, tone, and history before making a detailed plan.
For example:
- Acne-prone skin may need careful balance between oil control and barrier repair
- Rosacea-prone or reactive skin often needs a longer, very gentle prep
- Melasma and deeper skin tones may need stricter pigment-safe steps and extra SPF focus
Late June means more daylight hours, more trips, and more outdoor events. That matters for peel timing. Heat, sweat, and UV can all stir up inflammation and pigment. During this season, we usually suggest:
- Daily mineral SPF, reapplied as needed
- Hats and sunglasses during midday sun
- Seeking shade at outdoor events when possible
- Careful planning around vacations, pool days, and big events
We also review your current products and any prescriptions. Some medications and at-home treatments can affect how your skin responds to a peel, so your plan should fit your real routine, not just a perfect checklist on paper.
Book Your Peel Prep Plan with AIVI Aesthetics
A structured 2-to-4-week pre-peel routine can mean less irritation, a calmer healing phase, and more even, glowing results from your chemical peel. By focusing on damaged skin barrier repair, pairing it with well-timed HydraFacial, LED, and skin boosters, and staying mindful of our strong LA sun, we can set your skin up to succeed.
At AIVI Aesthetics in Agoura Hills, we partner with you to design a peel prep plan that fits your skin, schedule, and goals, so your chemical peel feels like a planned upgrade, not a surprise to your face.
Restore Your Skin Barrier With Expert, Personalized Care
If your complexion feels tight, reactive, or chronically irritated, we can help you calm and rebuild it with targeted damaged skin barrier repair. At AIVI Aesthetics, we customize every treatment plan so your skin gets exactly what it needs to recover and stay resilient. Schedule a consultation today so we can evaluate your skin, walk you through your options, and map out a clear path back to comfort and glow. If you are ready to take the next step, contact us to book your visit.
AIVI Aesthetics Skin Health Clinic
Email: info@aiviaesthetics.com